Optimization is the process of modifying a system to improve its efficiency.
In Windows 7, unlike previous versions of Windows, there is an Aero feature.
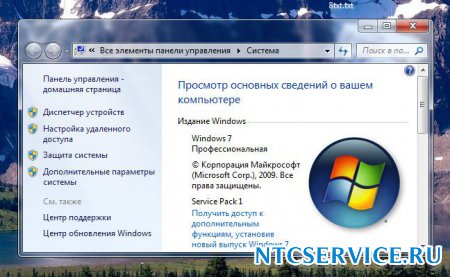
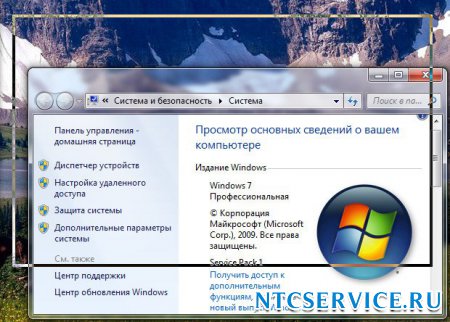
Although this function gives a beautiful animation and a smooth disappearance, it loads the operating system quite heavily. But if you turn off some settings that slow down the system, then the increase in OS performance will be noticeable right there. We go: Start->Control Panel->System and Security->System->Advanced system settings->Performance->Settings. Visual effects can be disabled by unchecking the box and clicking apply.
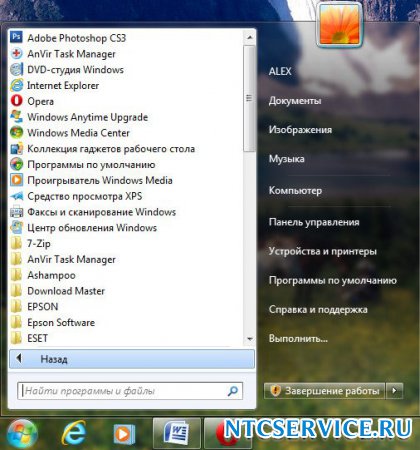
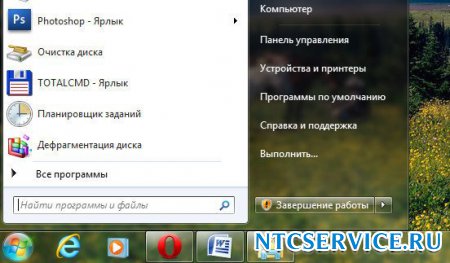
1) Animation in the start menu and taskbar. This setting is responsible for the drop-down buttons on the Taskbar, the smooth appearance and fading of lists in the Start menu.
This is what the menu looks like with the start menu animation enabled,

This is what it looks like with the animation turned off.
2) Animation of windows when minimizing and maximizing. From the name it is clear what this function is responsible for. When this option is enabled, windows will appear smoothly when opened, and appear to be minimized when closed.
Option enabled

Option disabled

3) Animated controls and elements inside the window.
This function is responsible for smooth highlighting on buttons and scroll arrows in dialog boxes.

4) Enable desktop composition. This feature is responsible for the transparency effect of every open window in Windows 7 and the taskbar.
5) Enable Aero Peek. In the lower right corner of the desktop, there is a button to minimize all windows, if you hover over it with the mouse, you can see this effect.

6) Enable transparency effect. If you disable this effect, then the Windows 7 interface will lose a lot, the transparency effect will disappear in the windows, try it, maybe your video card will pass this test, it's worth it.
7) Smooth scrolling of lists. Feel free to uncheck the box, the effect is not particularly noticeable.
8) Fading menu after calling a command. Turn it off too. The difference is quite difficult to notice.
9) Using display styles for buttons and windows. If you disable this setting, your operating system will look like Windows XP.
10) Drop shadows on desktop icons. To be honest, I don't see much difference whether there is a shadow behind the icons or not. So you can safely turn it off.
11) Display window contents while dragging, It seems to me that it’s better to display, it won’t take much resources from you, as you can see in the second illustration, if you don’t display it, it won’t be very convenient.
12) Display shadows cast by windows.. The screenshot shows a shadow with an arrow, for me it’s not particularly visible, turn off the setting.

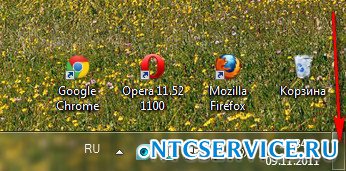
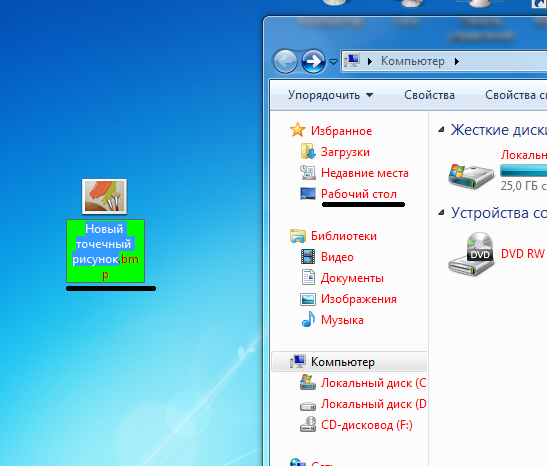
13) Display thumbnails instead of icons. This function "eats" a lot of Windows 7 resources, when it is disabled, folders will open faster. It displays all image files in Windows 7 Explorer in thumbnail, as well as video files and others. If you often deal with images, then using this effect is quite convenient, you can immediately notice the photo and drawing you need. But the video files are displayed as black rectangles in the folder, next to graphic images,

and this is how they look when the effect is disabled.
I continue my series of articles about the appearance of Windows. This time I will talk about customizing the appearance of windows, their borders, fonts and sizes.
There are many settings for changing the appearance of Windows windows. Perhaps not all users are satisfied with the standard window appearance, font, or border. Or you just want to delve into the settings for the appearance of the system.
Windows has the ability to change themes. To do this, just right-click on an empty spot on the desktop and select Personalize. This menu provides a choice of various themes, changing the color of windows, switching on / off.
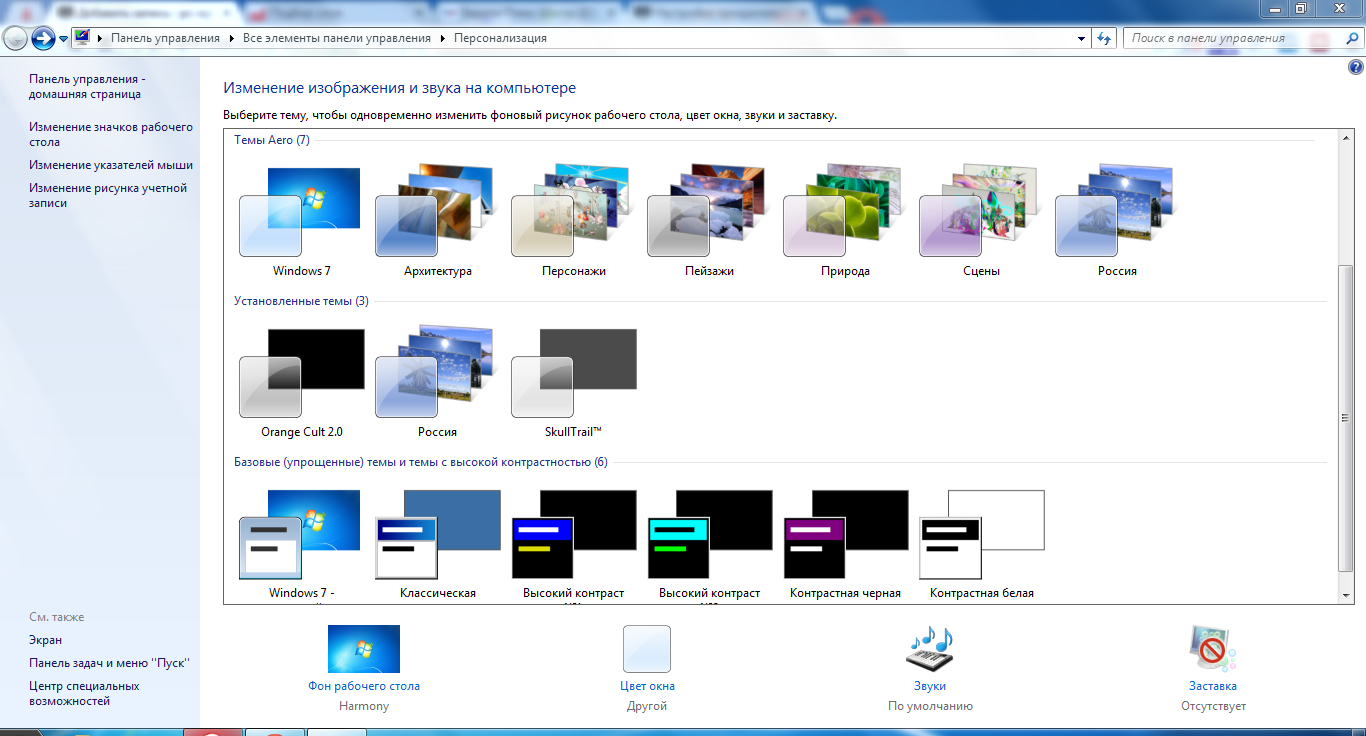 Themes
 To expand the standard list of themes, you can download any themes you like from the Internet, but most of these themes do not have digital signature, therefore, to install them, some manipulations will be required. I will talk about this in future articles.
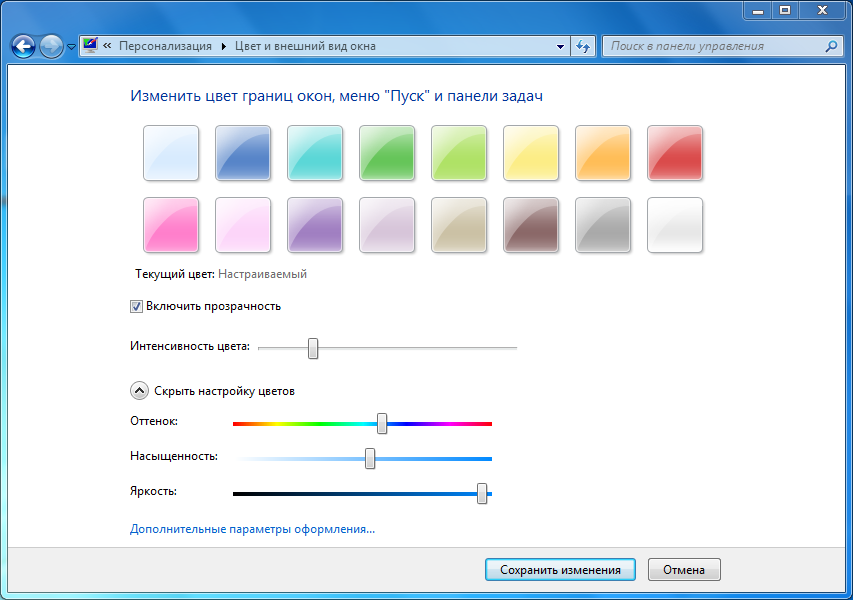 Window color
 By clicking on the Window color button you can customize the window color scheme. You can choose pre-made templates and customize the color set manually. Also, in this window you can turn transparency on and off.
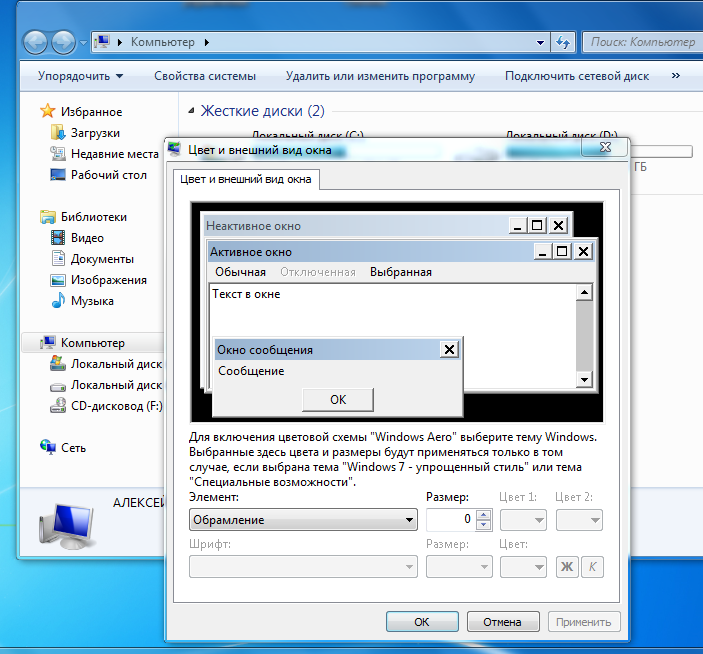
The Advanced Appearance Options menu contains a huge set of options for customizing windows.
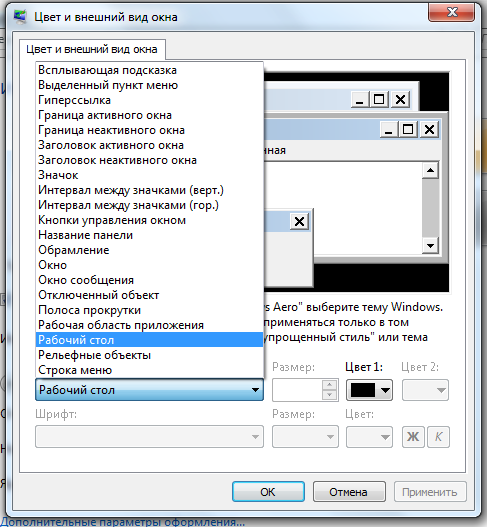 Appearance windows
 Now we will consider only some of these settings.
Scroll bar - the width of the scroll bar that is on the right side of each window
How she looks like:
Window - Set the color of the window and the text inside the window.
 Changing the color of text inside a window
 Border - Change the size of the border around windows.
 small frame
 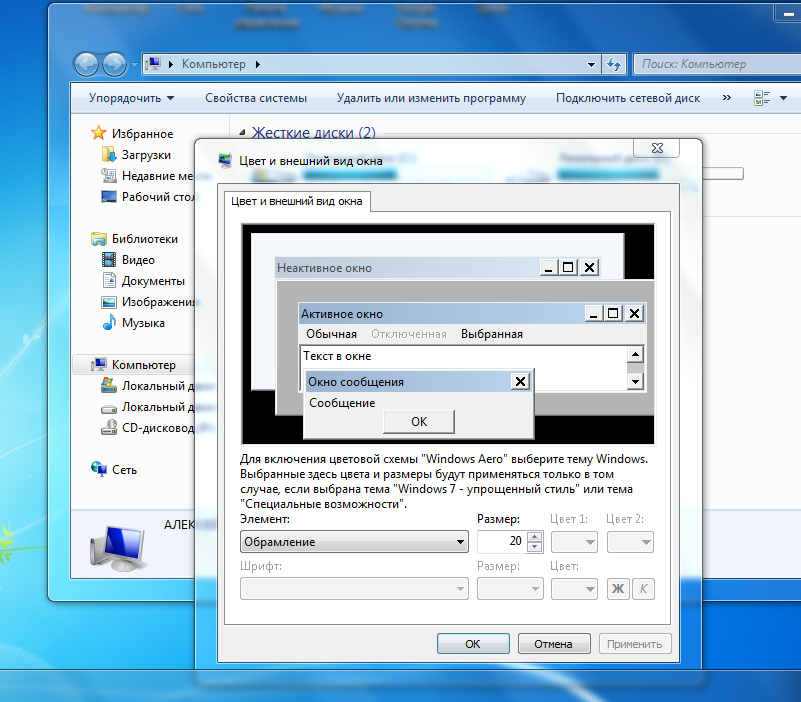 big frame
 Window Control Buttons - Size of Close, Minimize, and Full Screen & Window Buttons
Change example:

Icon spacing (horizontal, vertical) — the distance between shortcuts on the desktop.
 Icon Spacing
 Icon - Change the font under icons and inside windows. The ability to select any font from the list and specify a more suitable font size. If the names are not fully displayed, then you should refer to the previous paragraph and change the font size to a smaller one.
 Font change
 Selected menu item — color of the cursor when selecting multiple files, as well as one selected item.
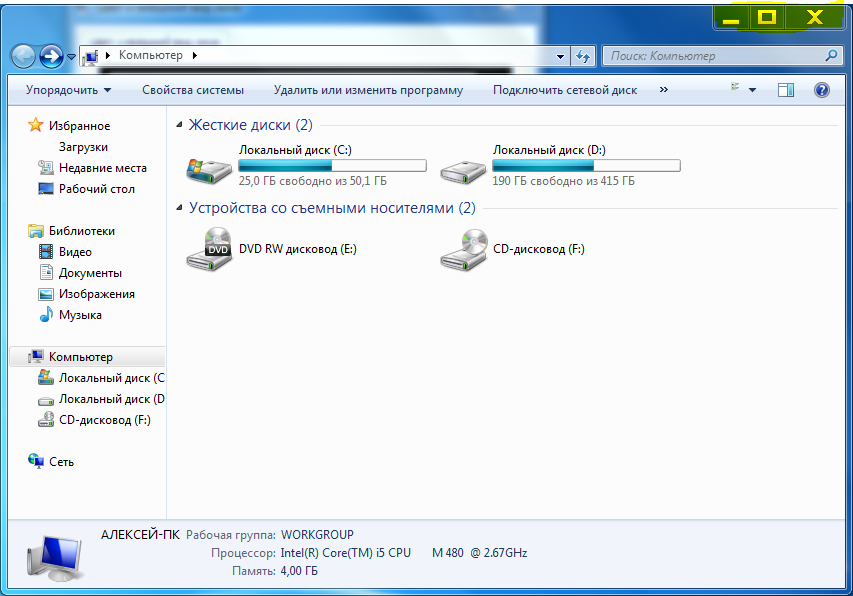
In the Windows 7 operating system, as, indeed, in other operating systems of the Windows family, all programs on the computer screen are presented as windows. You can run multiple programs at the same time and each application will launch in a separate window. Program windows can be placed on the screen in any order, resize these windows as you wish. A program that you are not currently using, but do not want to stop working, may be minimized. At the same time, the button of the running application will remain on the taskbar.
Experiment with running these applications:
- Click the Start button on the taskbar operating system Windows 7 and select any application from the list of recently launched programs, such as Paint. To launch this application, just click on the line with the name of this program.
- To make it more pleasant to work with this application, you can display any photo in the working field of the program, for example, you like the look of a hydraulic sheet bender. To do this, click the button in the upper left corner of the application and select the Open command from the menu that appears. The Open dialog box will open, where you navigate to the directory where the image is saved and double-click on the thumbnail of the photo you wish to open. The selected photo will appear in the working field of the program (Fig. 3.23).
At the top of the program window, you will see a heading, on the left side of which there is an application system menu icon, a quick access panel with buttons for frequently used operations, the name of the file being edited and the name open program. There are three buttons on the right side of the window title bar:
- The Minimize button minimizes the window of the selected application, after which the button for this program remains on the taskbar. To display the program window again on the computer screen, just click on the button for this application. Please note that you can minimize and maximize the application window without using the button. It is enough to click on the button of the application located on the taskbar of the operating system, and the application window will be minimized. Clicking this button again will restore the program window to the desktop;
- The Maximize button expands the program window to the entire usable area of the screen. When the program window is maximized to full screen, only the taskbar will remain at the bottom of the desktop. But if the Auto-hide the taskbar checkbox is selected in the taskbar properties, then the application window will take up the entire screen space. Note that when the program window is maximized, the Maximize button changes to a Restore Down button. After pressing this button, the size of the application window will be restored, and the button will again change its appearance to another one;
- The Close button closes the program. It duplicates the Exit command, located in the program menu. To exit the program, you can also click the button and select the Exit item in the menu that opens, or click the system menu icon and select the Exit command.
It should be noted that in the updated applications of the Windows 7 operating system to the right of the button The system menu contains the Quick Access Toolbar, which has the following four buttons by default:
- the Save button allows you to save the current state of the edited document. When saving a new document for the first time after pressing the Save button, the Save As dialog box will appear on the screen, in which you should select the destination folder and assign a name to the saved file;
- the Undo button undoes the last action performed;
- the Redo button returns the previously undone action;
- The Customize Quick Access Tolbar button opens a menu with a list of buttons that you can add. To add a button to the Quick Access Toolbar, click the button and in the menu that appears, click on the name of the command whose button you want to add. To remove an extra button, display the Quick Access Toolbar button menu and click on the command whose button you are removing.
As mentioned earlier, the user can independently resize application windows. For arbitrary resizing, set the mouse pointer to the lower right corner of the window so that the appearance of the mouse pointer changes. Then, pressing and holding left button mouse, you need to move the window border in the desired direction. Release the left mouse button after resizing the window. To resize a window horizontally, place the mouse pointer on the window's vertical border, and then click and hold the left mouse button to move the window border. This will change the appearance of the mouse pointer. To resize a window vertically, place the mouse pointer on the horizontal border of the window and resize the application window. The appearance of the mouse pointer in this case will change.
Pay attention to the innovations of the operating system Windows versions 7. To expand the window to the entire desktop, place the mouse pointer on the title bar of the window, and then, by pressing and holding the left mouse button, move the window to the top border of the desktop. After you release the left mouse button, the program window will expand to full screen.
To restore the window size, move the window down by clicking and holding the left mouse button on its title bar. To expand the window to only the left half of the screen, place the mouse pointer on the title bar. By pressing and holding the left mouse button, move the window to the left edge of the desktop and release the left mouse button. The application window will occupy the left half of the screen. To position the window on the right side, you must similarly drag the window to the right border of the desktop.
With the Aero theme configured, the operating Windows system 7 provides an additional feature: if you have several programs running, to minimize all application windows except the active one, you should place the mouse pointer on the title of the active application and, while pressing and holding the left mouse button, quickly shake the mouse left and right.
Please note that if you have several programs running at the same time, you can switch between the windows of these applications by simply clicking on the title bar. desired program or on the application button located on the operating system taskbar. You can also use the Alt+Tab and Shift+Alt+Tab keyboard shortcuts to switch between program windows.
In addition to program windows, there are dialog boxes. In simple words, the dialog box helps the user to conduct a dialogue with the operating system or application: select options from drop-down lists, check or uncheck the boxes next to the desired names of links or commands. You can also, for example, rename folders and files to your liking by entering new names in the suggested input fields, and perform many other operations using dialog boxes. In most cases, dialog boxes are not resizable and have no minimize, maximize, or restore buttons. Another feature of dialog boxes is that if the dialog box is called from any program, in most cases it will not be possible to continue working with the program until the user (or operating system) closes the dialog box. Some dialog boxes consist of tabs, which can be displayed by clicking on the tab icon. An example is the Sound dialog box. But most dialog boxes are single-page windows that contain controls for the user to select options. A classic example of a dialog box is shown in fig. 3.24.

This dialog box is designed to open documents in any program. At the top of the window, you will see an input field with the path to the directory, the contents of which are displayed in the central part of the dialog box. To the left of the address entry field there are two buttons: Back (Back) and Forward (Forward), the purpose of which is to navigate through folders.
These buttons are available if you have navigated through the operating system directories in the dialog box. So, using the Back button (Back) you will return to the previous directory. And the Forward button allows you to go back to the folder that you left earlier. To the right of the field indicating the path to the directory, there is an input field intended for specifying keywords which will be searched automatically. This is convenient if there are a lot of files in the open directory. On the left side of the dialog box are links to the main file locations and system locations. The lower part of the dialog box contains controls for selecting the type of file to open, specifying the name of the object, and buttons for confirming or canceling the operation. It should be noted that all dialog boxes are individual, and the description is relevant only for the window shown in Fig. 3.24.