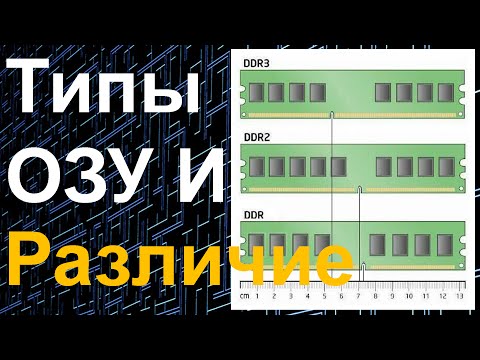
How to add RAM?

A few decades ago, computers ran on 1-2 MB random access memory. Today, progress has gone so far that, sometimes, 2-4 GB of RAM is not enough for normal computer operation.
If you do not want to experience inconvenience when watching videos, working with graphic editors, passing a computer game, you need to know how to add RAM.
When to add RAM
On modern computers For normal operation, it is better to use at least 4 GB of RAM. Just 2 GB of memory will significantly limit the performance of the computer. Such an amount of memory will not allow you to watch videos comfortably, it will be almost impossible to play, and graphics programs will slow down a lot. Also, surfing the Internet will be difficult due to the long time it takes to download sites and files to your hard drive.
The best solution would be to put 16-24 GB of RAM on the computer, which will allow you to forget about the memory upgrade for a long time.
How to add RAM to a computer
Before you buy a new stick of memory, you need to find out if you can add RAM to your computer. This can be done by opening the computer block and examining how many free slots there are.
If there is at least one slot, then you can safely buy the desired memory bar and add it. If there is no free slot, then you can change one of the bars to a new one with a larger volume.
The replacement of the strap should be done in the following sequence:
- Turn off and disconnect the computer by unplugging the power cord from the wall outlet or the unit itself.
- Pull out one of the strips, in place of which put a new one. If you want to install in a free slot, then simply insert a new memory bar into place.
- Make sure the strap fits snugly into the slot. After that collect computer block, plug in and run.
- Check that there are new GB of RAM in the properties of the computer.
It should also be remembered that on 32-bit systems it shows a maximum of 3 GB of memory. If you installed more than 3 GB, then you should reinstall Windows by installing a 64-bit OS.
How to add RAM to a laptop
In a laptop, the amount of memory can be viewed in the same way as on a computer.
To add or replace a memory bar, you must:
- Power off the laptop.
- Remove battery.
- Open the back cover or the cover where the symbol depicting RAM is drawn. To do this, unscrew the fixing screw and carefully remove the cover.
- Insert a new bar or replace the old one.
- We collect everything again the same way as it was.
- We start the laptop and check for new GB of RAM.
You can also read more about this in our article.
Updated - 2017-02-05
How to add RAM to a computer? A computer cannot work without memory. But even with a small memory, it will not work, but one torment. Any file will open for half an hour, and some may not open at all. And there is nothing to say about games. They just won't load. What to do? How to add RAM to a computer? Is memory alone worth buying a new computer? I can reassure you. New computer do not need to buy. Just add memory. It's easy to say, you answer. And I'll tell you - it's easy to do.
There is nothing easier. Try once, and for you this operation will no longer be a problem.
Most often, memory has to be added, not changed. By itself, it is reliable and rarely fails. I have computers that are already 12-13 years old, and their memory has never failed. And so, we add memory to the computer.
First we need to figure out what kind of memory we need ( DDR, DDR2 or DDR3), and which maximum volume memory is supported by your motherboard. If you have documentation for motherboard, then look at what memory slots (connectors) are on your motherboard. If you do not have documentation, you can look on the Internet. Well, if you cannot determine what motherboard you have, then the easiest way is to remove the memory from your unit and show it to the seller.
Before touching the memory, be sure to remove it from yourself, otherwise you risk not adding, but changing the memory completely.
And so, you found the necessary memory. Now let's see how to add memory to the computer:
- Disconnect your computer from electrical network. Completely disconnect all cables from the processor unit (keyboard, mouse, speakers, monitor, and other devices connected to it).
- Remove the left cover from the system unit.
- Locate an empty memory slot on the motherboard. They look like this (their color can be bright yellow and red and blue):

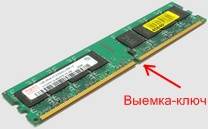
- Blow dust out of slots. Grab the memory carefully by the edges. Avoid touching chips and other parts. See where the key notch is located on the slot and rotate the memory card so that the key on it matches this jumper when you insert the card into the slot.
- one of the main components of any computer. The amount of RAM has a big effect on overall performance computer. If there is not enough memory for current tasks, then the computer will run slowly. In this article, we will talk about how to add RAM to the computer and solve this problem.
Step number 1. Determine the number of free slots for RAM.
If you want to add RAM to your computer, then the first thing to do is determine the number of free memory slots on your motherboard. This can be done using programs, but in this case there is a small risk of getting incorrect information. Therefore, it is better not to be lazy and see for yourself. To do this, completely turn off the power to the computer, put it on its side and remove the side cover.
The RAM slots will be located to the right of the CPU cooler. On budget or compact motherboards, there are usually only two slots. There are usually four slots on mid-range motherboards, and even eight memory slots can be used on the most expensive motherboards (in this case they are located on both sides of the processor cooler).
Slots for RAM
Pay attention to how many slots are free. This is how many RAM modules you can add to your computer. If all the memory slots are already occupied, then in this case you can add RAM to the computer only by replacing the already installed memory.
Step number 2. Determine the current memory configuration.
When adding RAM to a computer, you need to strive to ensure that all memory modules are as similar as possible to each other. They must have the same volume, the same timings and of course the same type (DDR, DDR2, DDR3 or DDR4). Using the same memory modules will avoid possible problems with compatibility.
Therefore, since you have already opened the side cover of the computer, then remove one of your memory boards and. Usually there is a sticker on the RAM with all the information you need written on it. You can read about how to remove and install the RAM module at the end of the article.
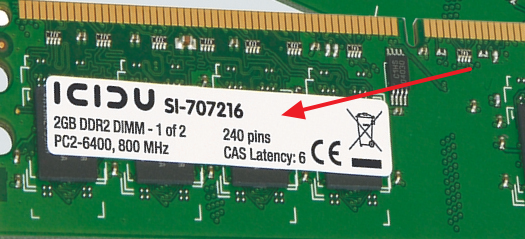
RAM spec sticker
If there is no sticker, then you can get information about the installed RAM using the CPU-Z program. Run this program on your computer and open the SPD tab. Here you will find the characteristics of each RAM module.
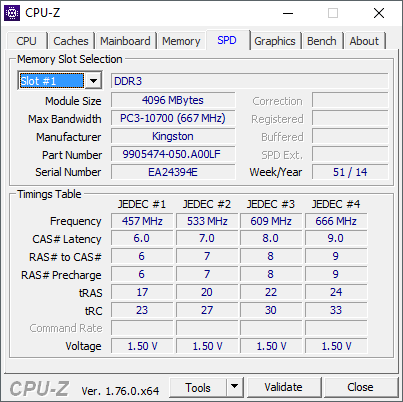
Characteristics of RAM in the CPU-Z program
In the upper left corner of the SPD tab there will be a switch that allows you to switch between the characteristics of different memory modules.
Step number 3. We buy new memory modules.
Based on how many free RAM slots you have, as well as what characteristics of the already installed memory, you can determine what memory modules are needed and how many can be installed. The ideal option is to find on sale exactly the same modules as you have on your computer, from the same manufacturer and with the same characteristics.
If you cannot find exactly the same memory, then buy modules from another manufacturer, the main thing is that their characteristics match those that you already have installed.
If you completely change all memory modules, then it is no longer necessary to maintain compatibility with old modules, the main thing is that the new ones are supported by your motherboard.
Step number 4. Adding RAM to the computer.
After the necessary modules are purchased, you can proceed to them. If you need to remove installed modules, then for this you need to release the two latches, which are located on the sides of the module, and while holding the module by the ends, carefully pull it out of the connector. In this case, you do not need to apply great force, the module should come out of the connector without difficulty.
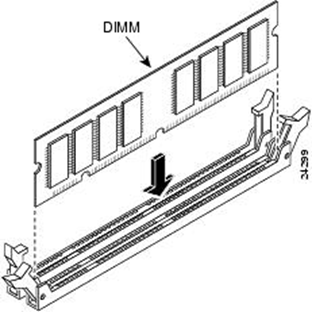
Installing the RAM module
Installing the module in the slot is carried out in the same way. Open the latches on the sides and carefully insert the module into the slot on the motherboard. It is important to correctly orient the module in the slot. To do this, pay attention to the connector and the module itself. The module will have cutouts that must match the jumpers on the connector (key). Usually the module gets into the right position in two clicks. After the memory module is inserted into the slot, you need to close the latches on the sides of the slot. After that, you can collect the computer.
Sooner or later, we all face the problem of improving our iron friend. Today I decided to add another 2 gigs of RAM to my. All actions will be described here. I'll try to be as detailed as possible - suddenly it will help someone 🙂
First we need to find out what kind of ozushka we will add. I decided not to take a steam bath, and take the same one that I have now, in the hope that the two of them will have more fun. How to find out your type of RAM, described.
Here we bought a die and it is completely at our disposal:
We take out the computer from our workplace, and get ready to use it. 
We unscrew the bolts from the back wall, if there are any. 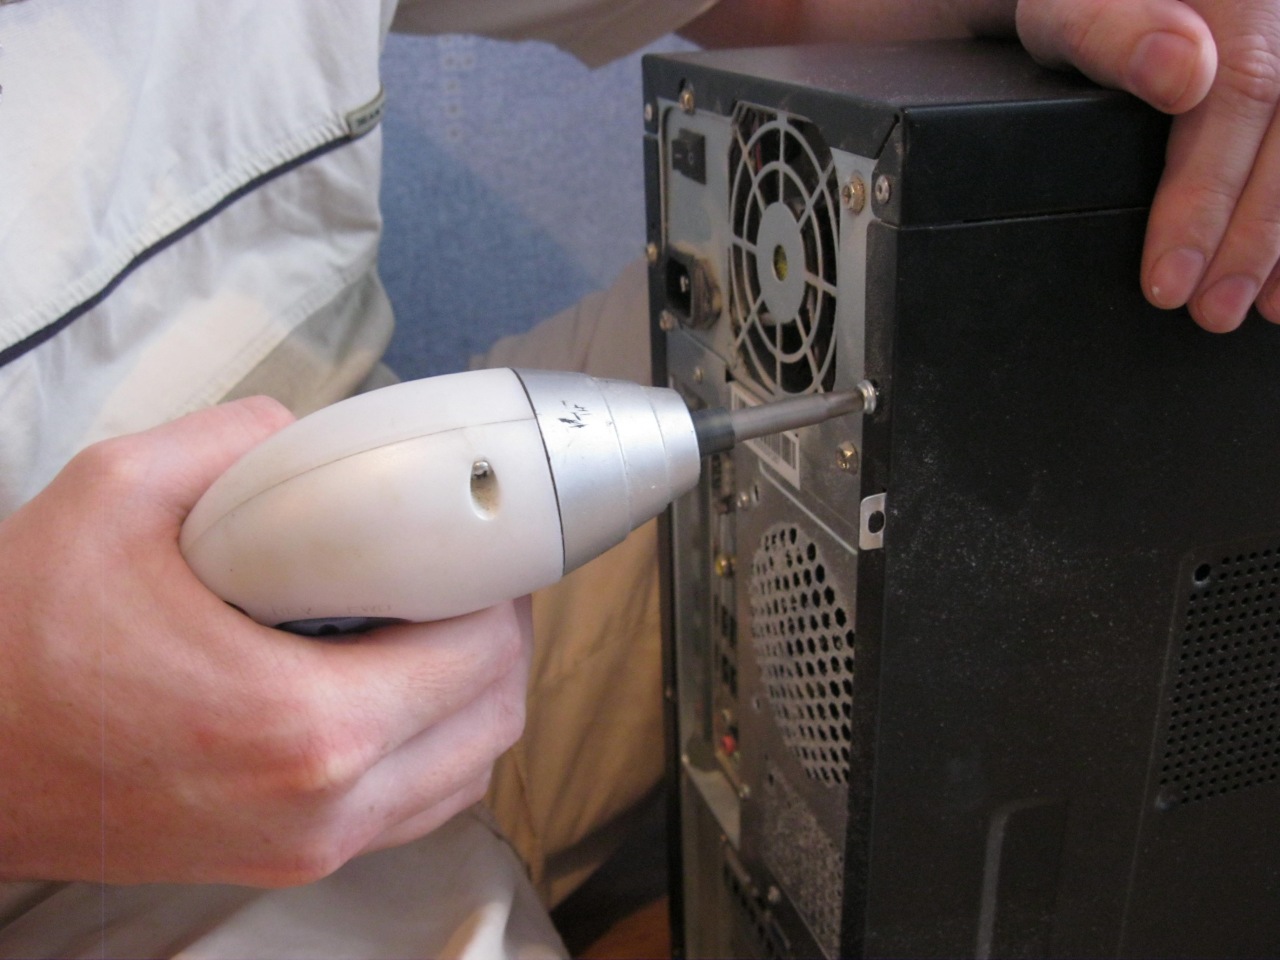
Remove the side panel of the case. To know which socket to unscrew, you need to put the computer facing you. The left wall is what we need. 🙂 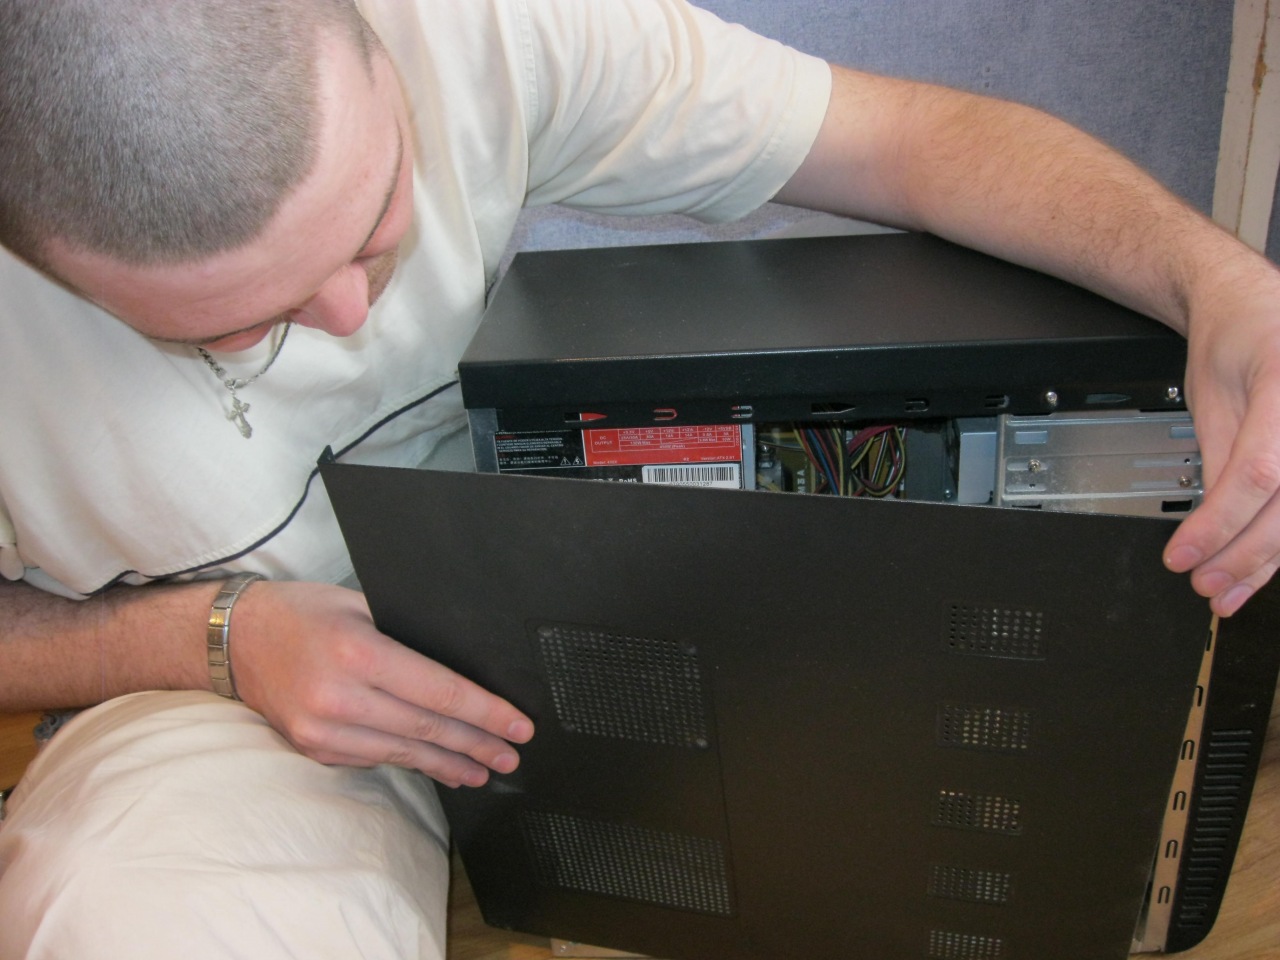
At the same time, you can blow out all the dust from the system unit, for the sake of prevention. I do not recommend vacuuming, as static can kill the computer. It is better to blow out all the dust. I was lucky, I have a vacuum cleaner with a blowing function. 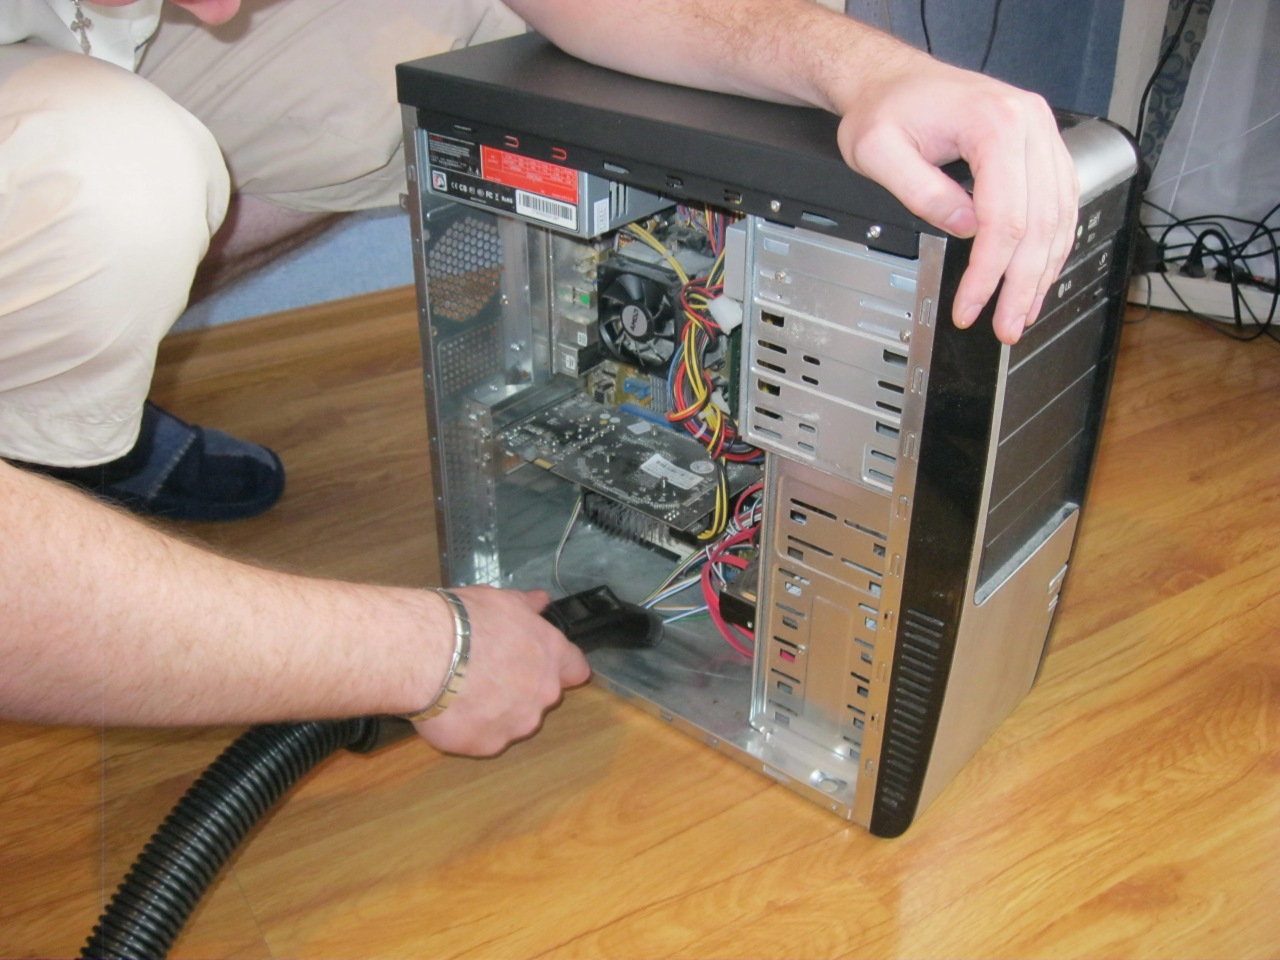
This is RAM 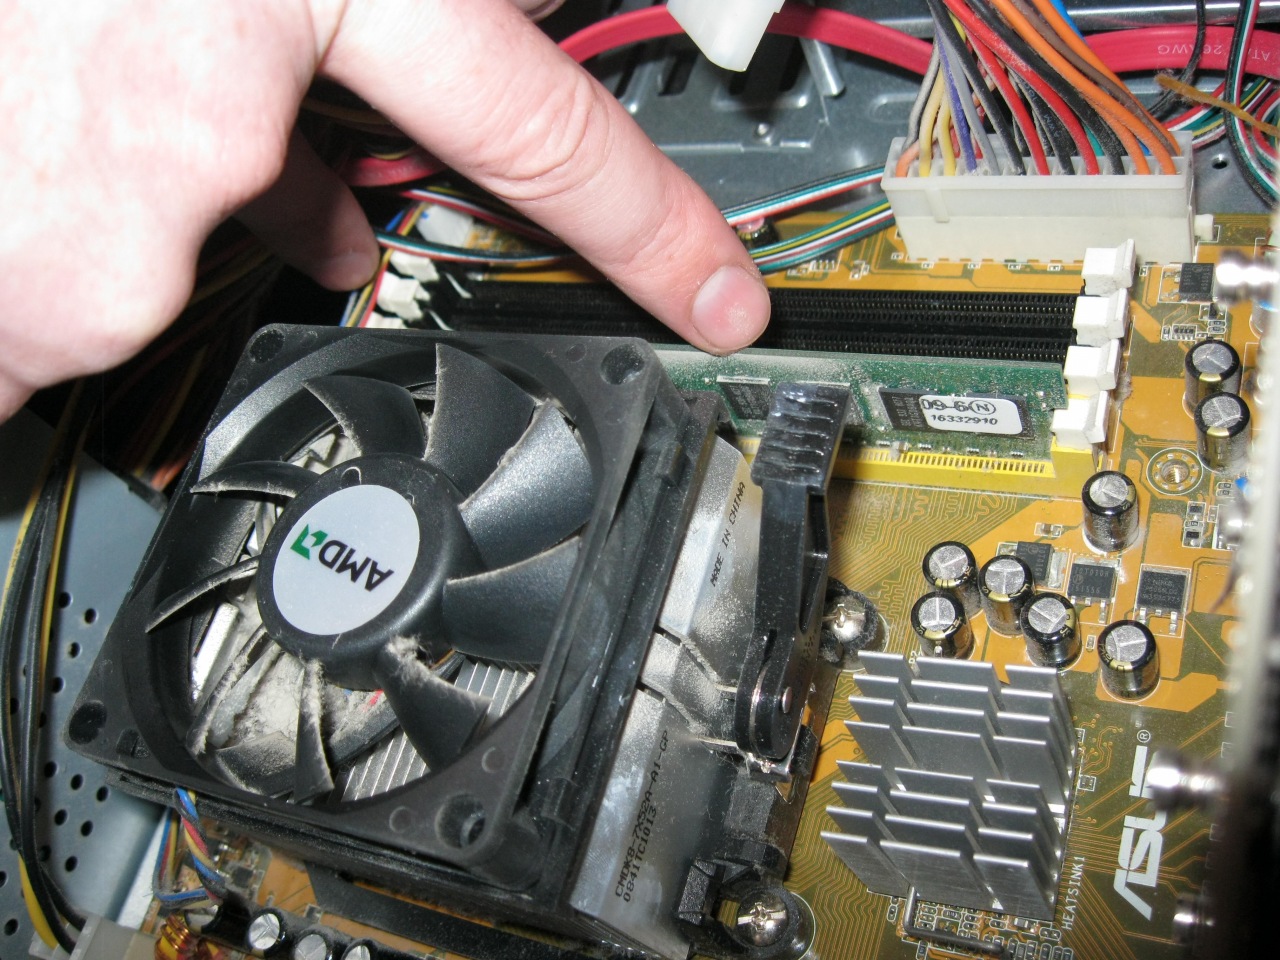
Next to her, an empty slot. We move the antennae of the RAM clamp (they are located on both sides of the socket). 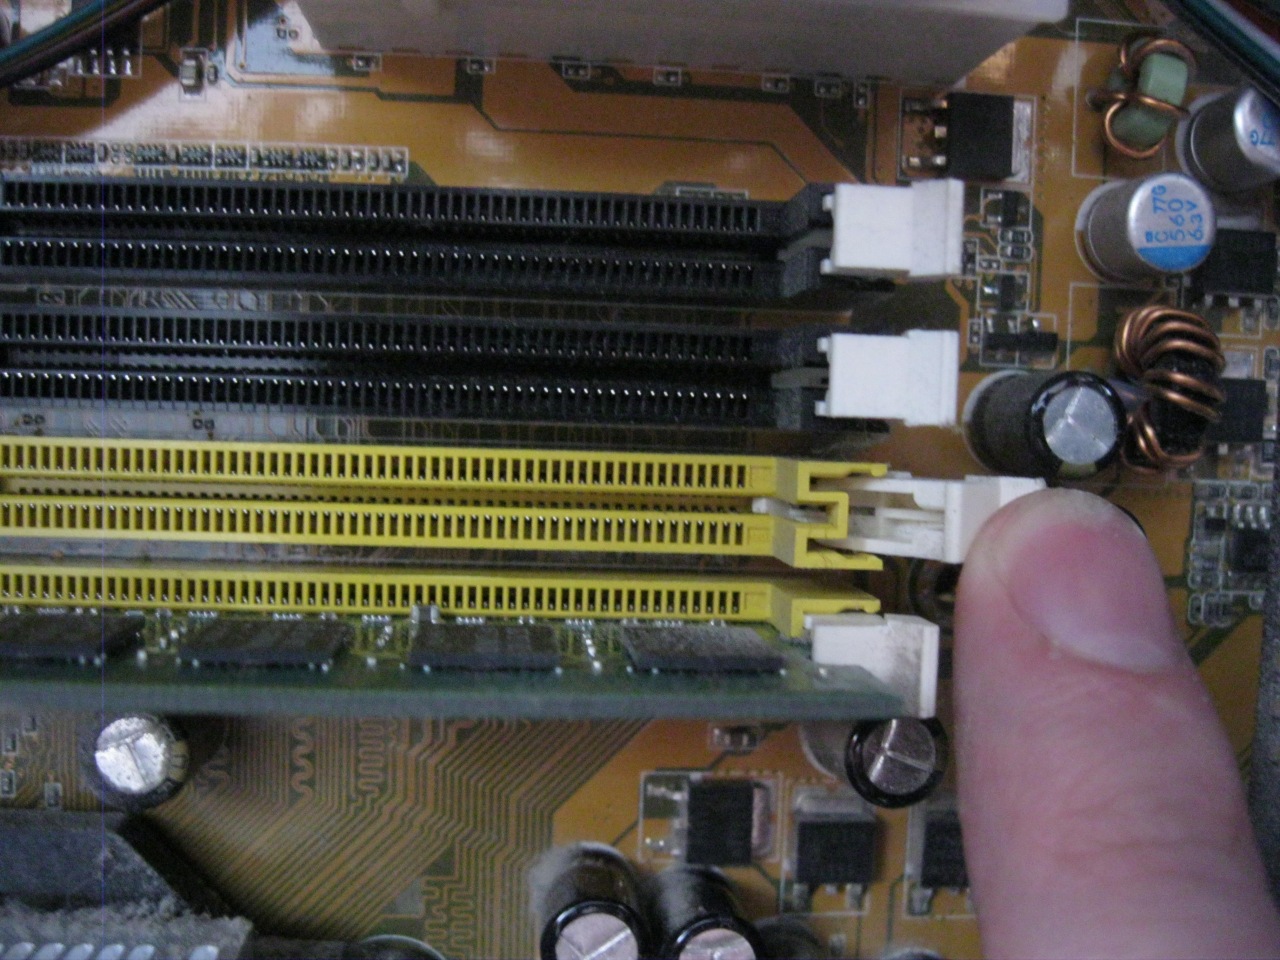
Printing out the new board 
And carefully insert it into the nest. The main thing is to see that the cable on the motherboard and the cable on the RAM match 🙂 ![]()
Snap on both sides. First on one side, then on the other. 
And here are the two plates next to each other. 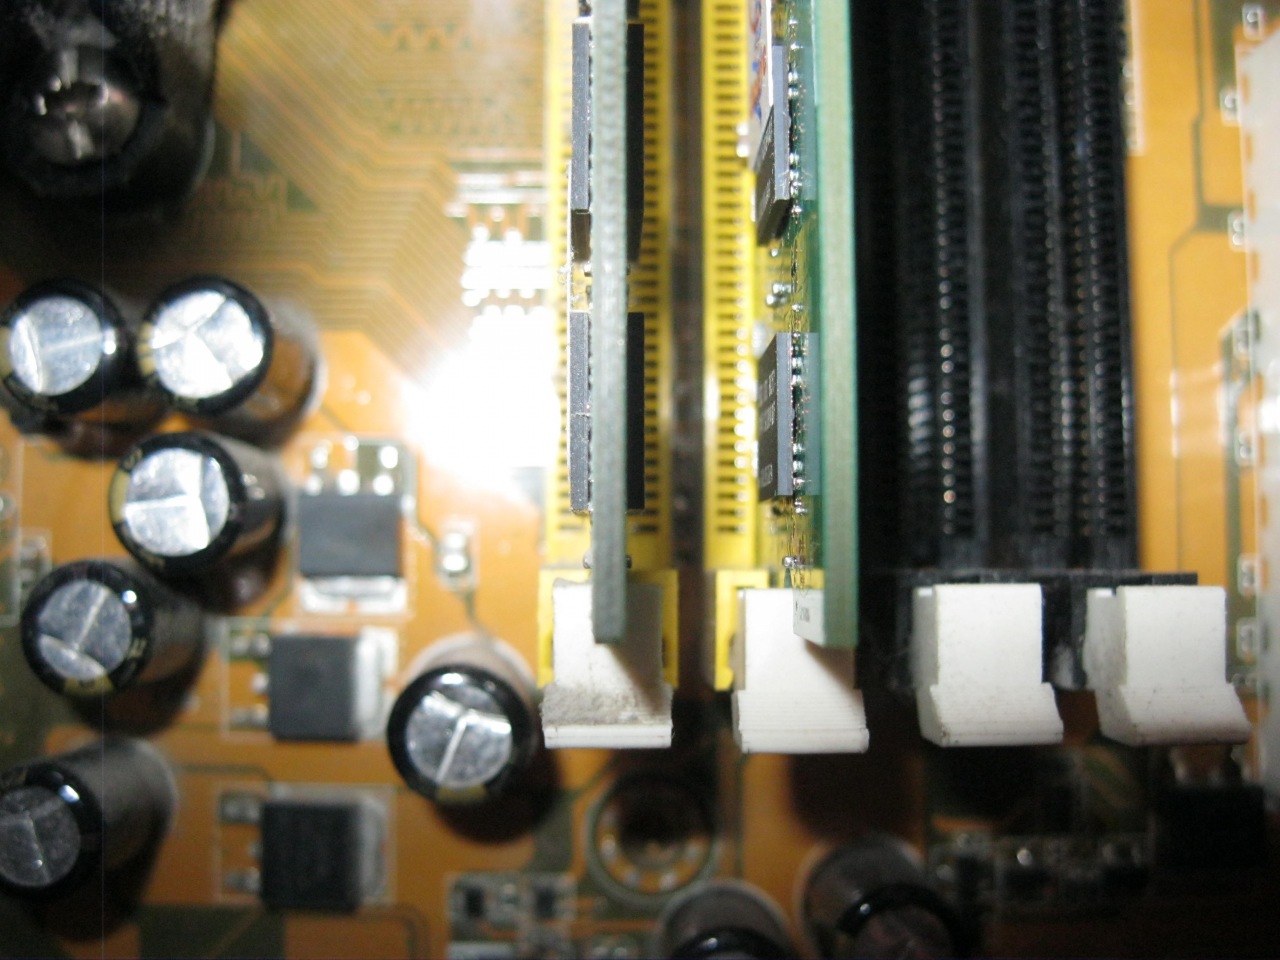
We return our iron friend to its original state. 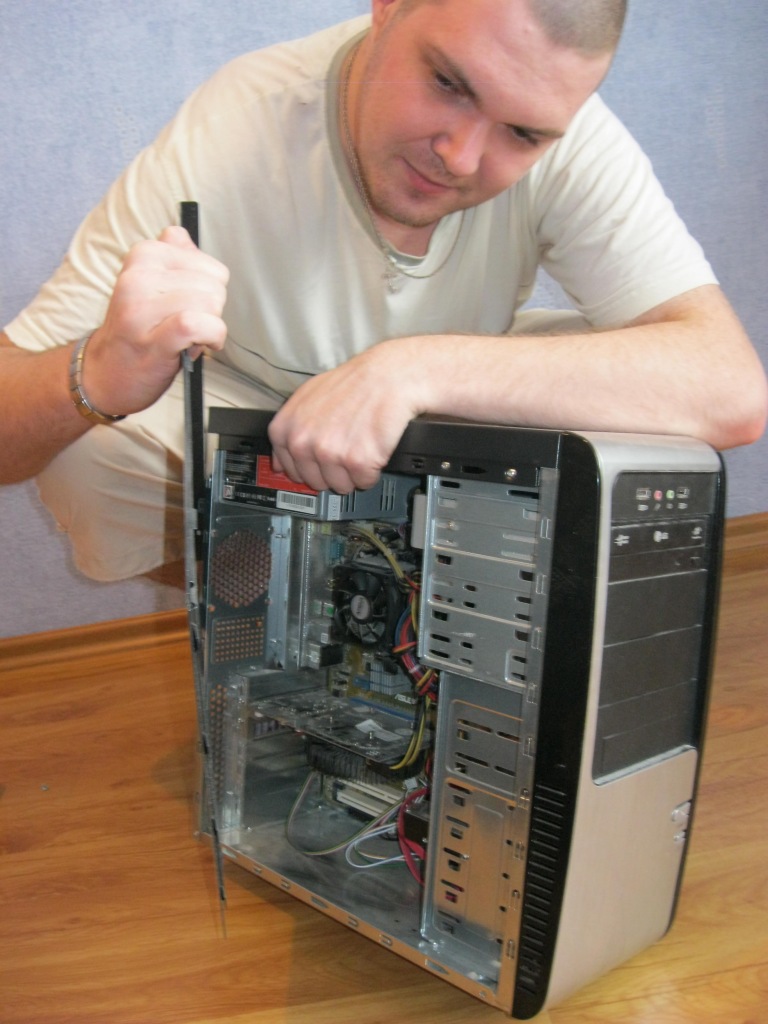
We hook it up in place. And look at the end result. We start the computer. Windows is loaded. On the desktop, press the Windows + Break keys at the same time. We look at the information about the system. 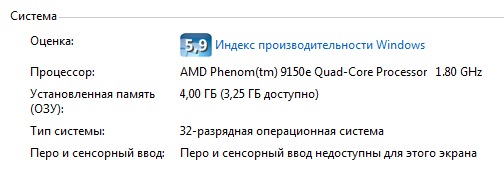
As we see. It costs physically 4 GB of RAM, only 3.25 GB is used, since Operating system 32 bit. I feel the next step will be the transition to 64-bit Windows.